How to Convert bmp to dxf, ai, pdf Vector on Mac?
In today's world, several different kinds of file formats exist. In different fields, oftentimes a particular kind of file format becomes a necessity. This can be a rather big issue when it comes to filing formats and conversions. However, several file formats can convert BMP to DXF on Mac and Windows PC.
What are BMP and DXF image on Mac and PC?
BMP file format or the bitmap image file is a format that stores raster graphics. It is used to store bitmap images. This format can store the raster graphics independent of the software that it is being used on.
This is why several designers and engineers use this since it allows software free edits and storage.
DXF file format or AutoCAD is a CAD file format. This is a data file format that was developed by Autodesk to make data transfer and work easier between the AutoCAD files and other software. This is a file type that can be downloaded on any system regardless of the iOS.
There are several different software like Super Vectorizer which can convert BMP to PDF on Mac and Windows PC. Here is a step-to-step guide on how to convert BMP to DXF / AI / PDF Vector on Mac using Super Vectorizer:
Steps to convert BMP to DXF / AI / PDF Vector on Mac:
Step 1: Open the software on your Mac-
Install Super Vectorizer Pro Software to Convert bmp to pdf or dxf now.
Download Super Vectorizer first if you haven't installed it yet.
Super Vectorizer is good at converting 70+ Image formats to PDF, AI, DXF, SVG Vector icons on Mac and Windows PC.
System Compatibility: Windows 7, 8, 10, 11 & Mac OSX 10.10+
Native to Apple Silicon M1, M2, M3 Chips.
Open the Super Vectorizer software on your Mac and select the file that you wish to convert.
Step 2: Select the BMP file you want to convert-
Decide the format that you are importing and then get ready to import the file.
Step 3: Drag that file and drop it in the work area-

Select that file from its location and drag and drop it onto the work area of the app on the Mac. This will now show you several different property options where you can now customize your design or file.
Step 4: On the left-hand side, decide the dimensions-
On the bottom left side of the display, you have an option that allows you to select the dimensions of the files and to preview them. You can adjust the file here to fit the look that you want it to have.
Step 5: Decide which format you want to convert it to-

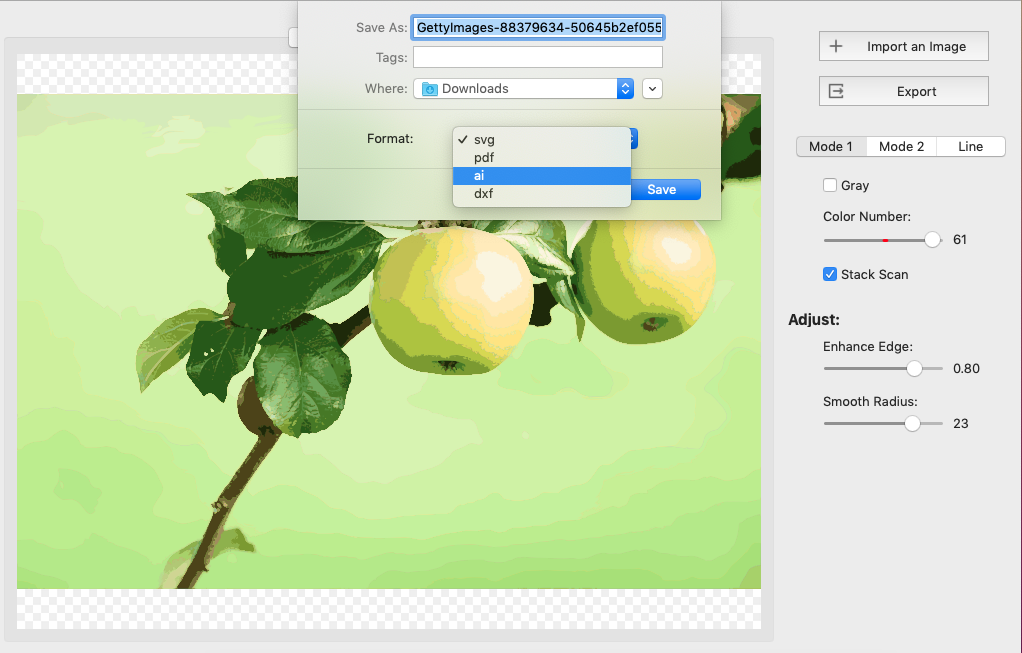
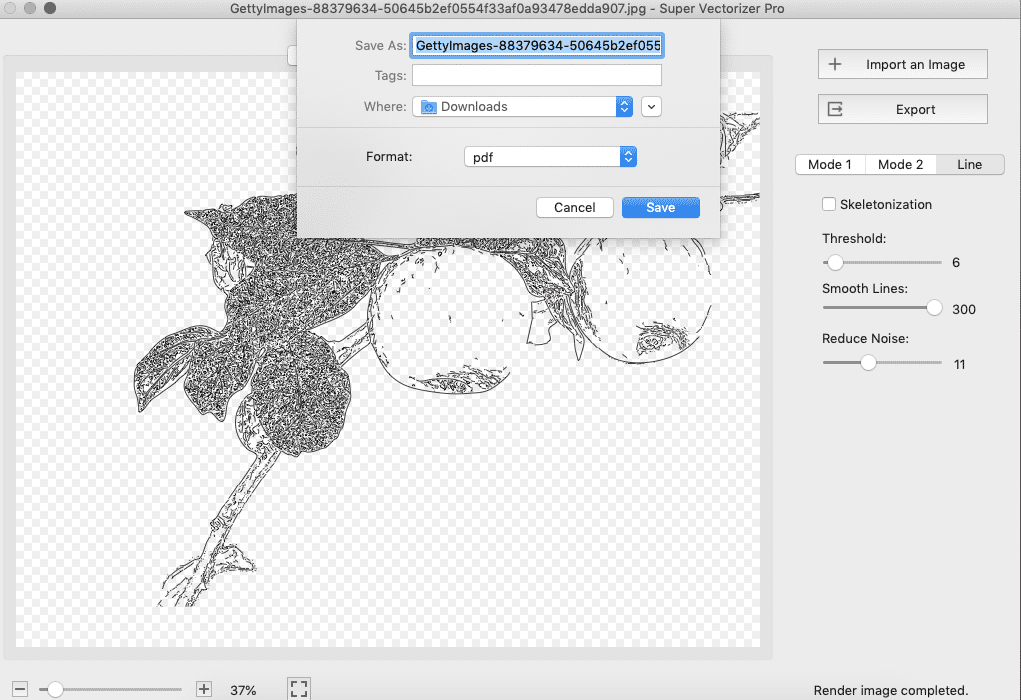
Once the dimensions are decided you will have to export this file format onto your Mac. This will give it a base on your software and you will not be able to change it as per your wish. You can select AI, DXF, PDF, SVG if that's the file format you want.
Step 6: Export the image to your Mac
The next step is to export the vector image out once it's done converting to your desired file format.
Step 7: Save the file in the desired format-

The last step is to check and save the file as a PDF or a DXF or whatever format it is that you wish for it to be in.
Conclusion:
These are the simple stores you need to follow to ensure that your file gets converted to whatever format you are looking for. There are several different software that enables you to do so, the software discussed in this article is Super Vectorizer due to its efficiency and productivity.
Once again, if you would like to convert BMP to PDF or SVG etc on Mac and PC, download Super Vectorizer to start the BMP vector conversion.
System Compatibility: Windows 7, 8, 10, 11 & Mac OSX 10.10+ Silicon M1, M2, M3 Chips.
Tips and Tutorials


